Understanding the Installation Process of Epoxy Flooring in Residential Settings
Epoxy floor covering has come to be progressively well-known in household settings due to its toughness, artistic allure, and effortless servicing. This kind of flooring is often utilized in garages, basements, home kitchens, and other high-traffic areas. If you are looking at setting up epoxy floor covering in your house, it is essential to know the setup method to guarantee a prosperous result. In this short article, we are going to walk you by means of the step-by-step method of putting up epoxy floor covering in property settings.
Measure 1: Surface Preparation
Just before administering epoxy finishing, effective surface prep work is essential for a long-lasting coating. The first action involves thoroughly cleaning the existing floor to get rid of any kind of filth, dust, oil discolorations, or various other pollutants that may conflict along with adhesion. This can be carried out through sweeping, vacuuming or scouring the floor with a ideal cleaning solution.
Step 2: Repairing Damages
After cleaning the surface, it is necessary to examine for any type of damages such as gaps or chips. These flaws should be restored just before continuing with the installation procedure. Little cracks may be filled up making use of an epoxy split filler while much larger damages may need concrete patching materials.
Measure 3: Etching or Grinding
To produce a rough texture on the surface area and improve adherence between the epoxy covering and the substratum, etching or grinding is normally performed. This procedure involves making use of acid etching options or technical grinders to roughen up the best level of concrete.
Measure 4: Topping
Best is an important step that assists enhance adhesion and makes sure sameness of colour and appeal. A primer layer is administered after etching or grinding to seal any type of continuing to be pores in the concrete and offer a soft foundation for succeeding layers.
Step 5: Administering Epoxy Layer
Once the area has been properly well prepared and primed, it's opportunity to apply the epoxy layer. The two main parts of epoxy coating, material, and hardener are mixed together according to the manufacturer's guidelines.
This Website is crucial to follow the specified mixing ratio and mix the parts thoroughly to accomplish a steady mix.
Utilizing a curler or comb, the epoxy combination is evenly administered on the floor surface. Relying on the intended thickness and coating, several layers might be required. It is vital to enable sufficient drying opportunity between each coating as encouraged through the maker.
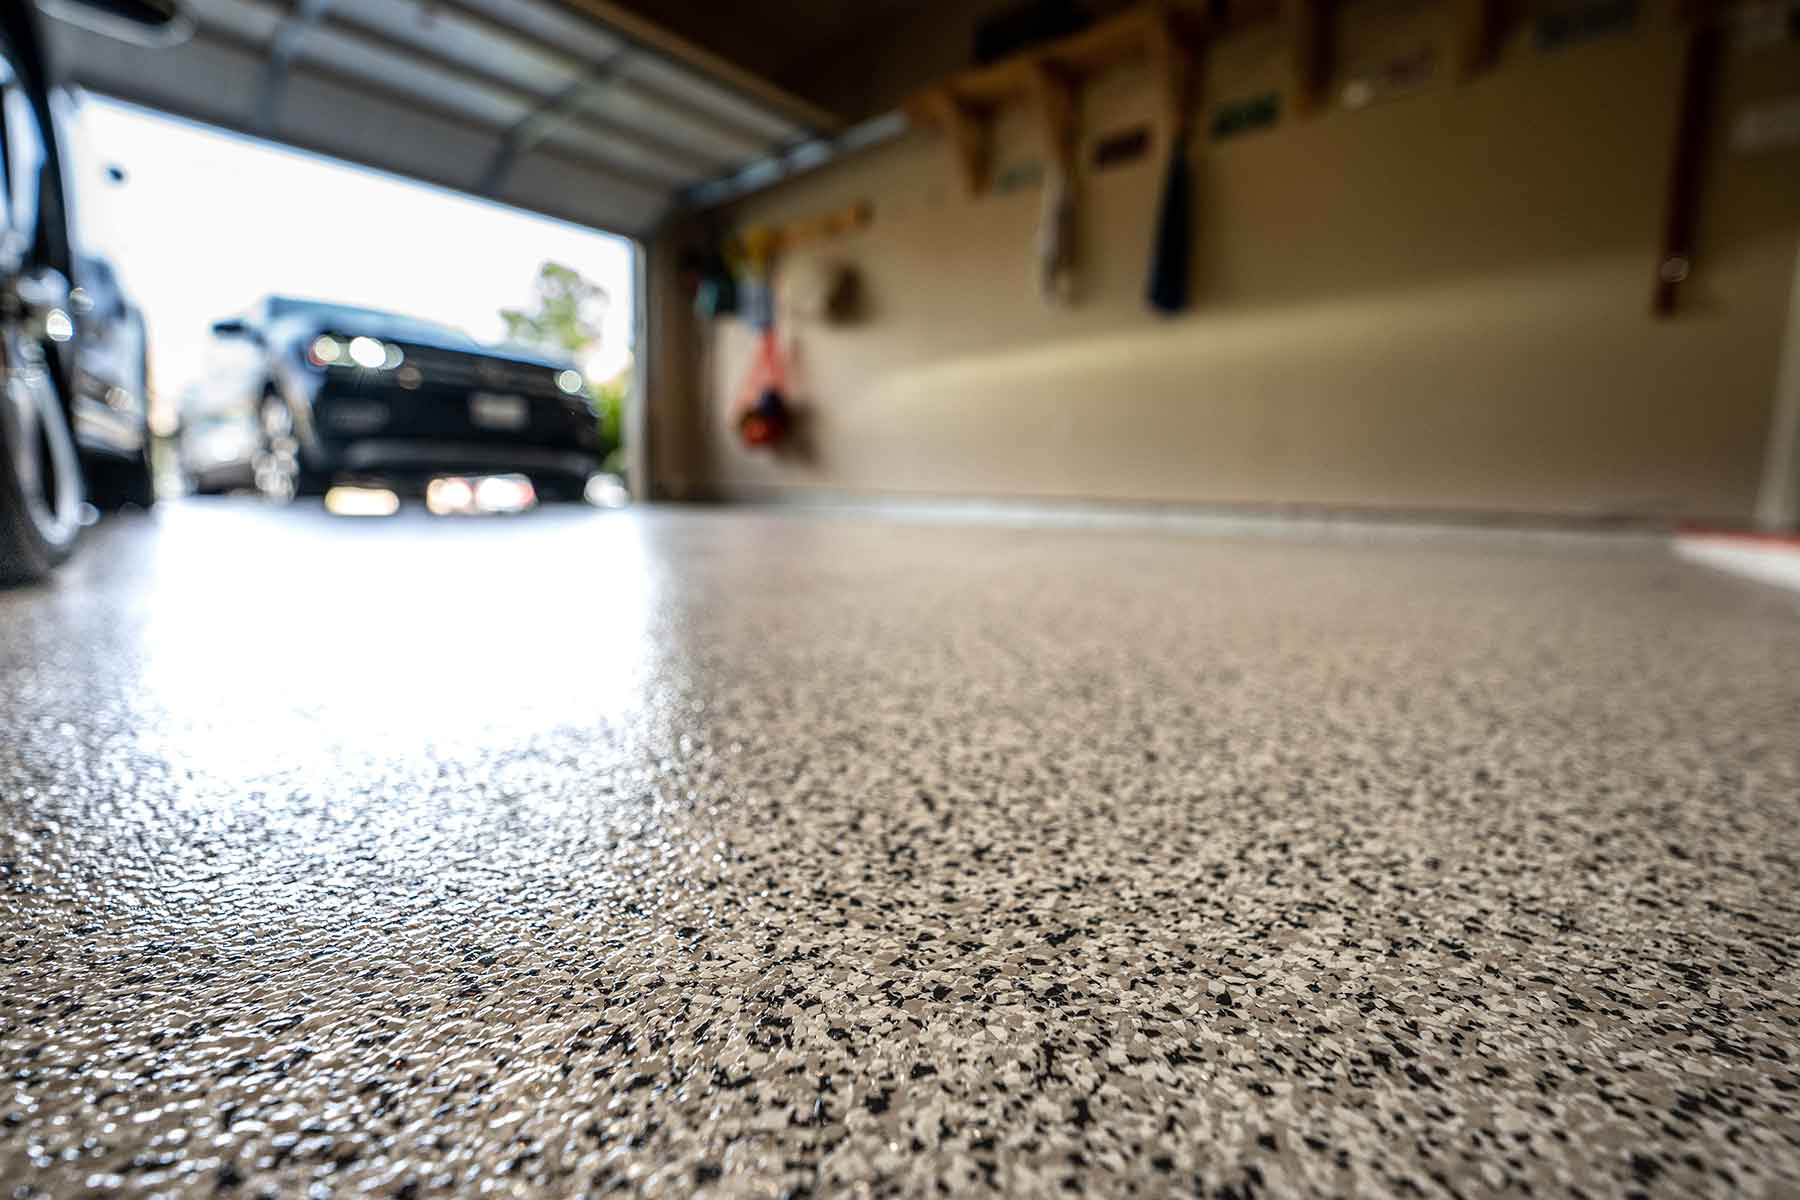
Action 6: Incorporating Decorative Flakes or Pigments (Optional)
To improve the graphic charm of your epoxy floor, ornamental flakes or pigments may be incorporated in the course of the application procedure. These components create a special style and appearance while supplying added sturdiness. The flakes or pigments are sprinkled onto the wet epoxy area and secured along with a crystal clear topcoat.
Measure 7: Applying Topcoat
To supply extra defense versus wear and tear, stains, and UV damages, a overcoat is administered over the cured epoxy level. This clear layer not only improves durability but also creates a glossy or flat surface depending on your inclination.
Action 8: Remedying Time
After finalization of all coating coatings, it is essential to permit enough remedy opportunity for the epoxy flooring to completely set and obtain its optimal strength. This generally takes all around 24-72 hrs depending on ecological disorders such as temperature and moisture.
In final thought, understanding the installment procedure of epoxy floor in non commercial settings is necessary for attaining a effective result. Through complying with these step-by-step standards - surface area preparation, fixing damages, etching or grinding, main, applying epoxy finish levels, adding decorative scab or pigments (optional), using overcoat, and enabling proper curing time - you can easily enjoy heavy duty and aesthetically pleasing epoxy flooring in your residence for years to come.
UNDER MAINTENANCE
